Playing with my new toys
It has arrived!!! It actually arrived a whole week before I picked it up but I was on a road trip to San Diego.
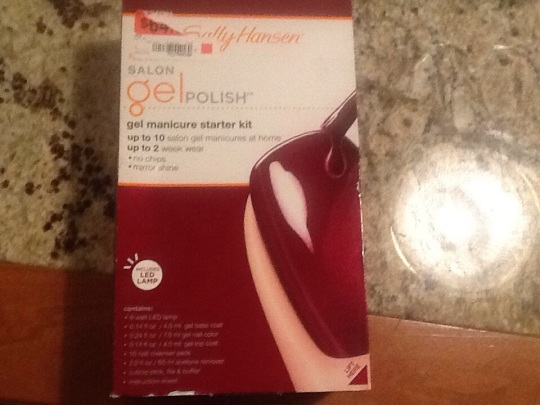
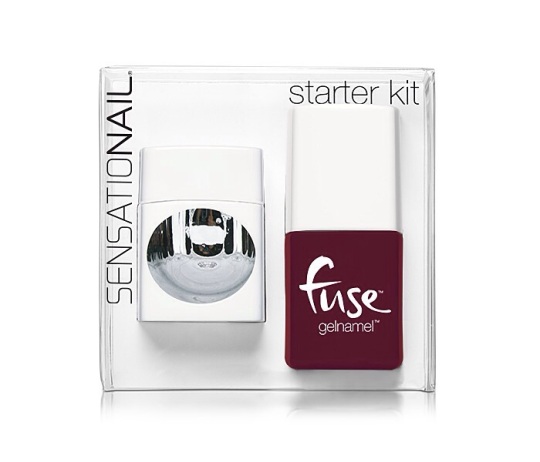
This is what it looks on on the outside:
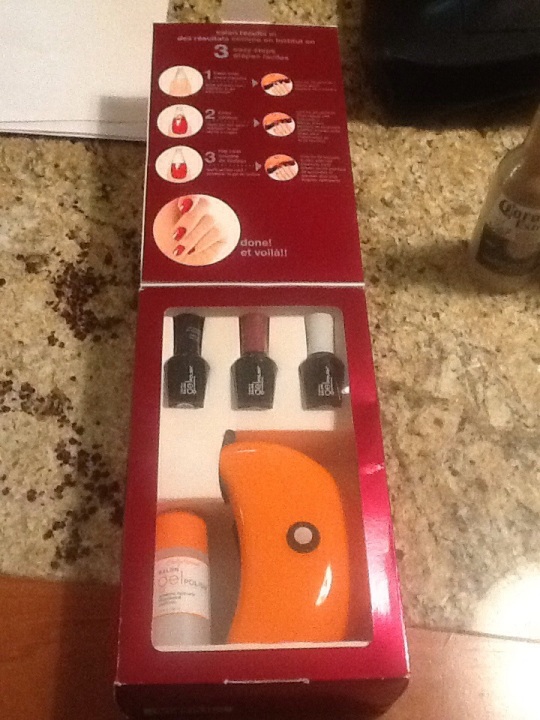
And when you flip the lid, this is what it looks like:
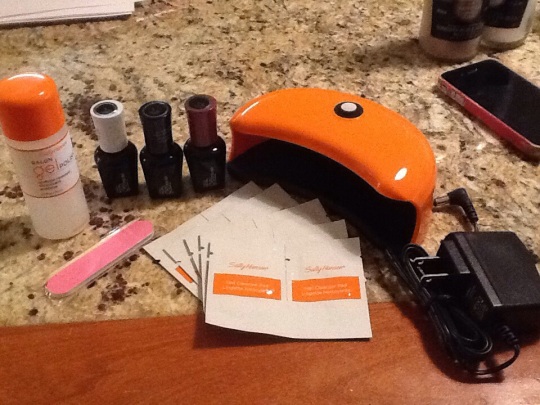
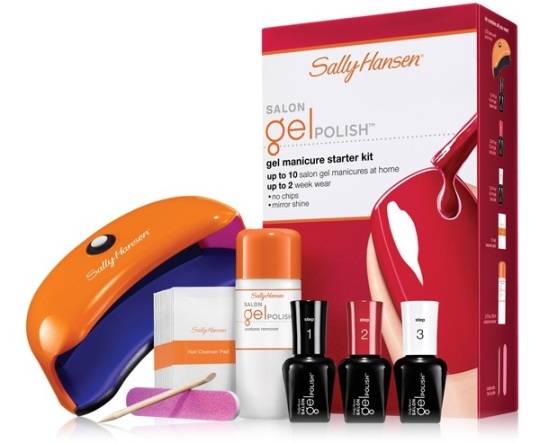
And this is what is inside the box.
It has pretty much everything I needed but I did have to do a pit shop in Walmart and pick up a few more essentials such as a buffer, some cotton balls, a pair of cuticle scissors and a bigger file. As much as this kit is meant to provide everything I needed, I read somewhere that it was better to have buffed my nails and the file they provided was very small. I didn’t see it lasting ten manicures. Hence probably why it says upto ten manicures.
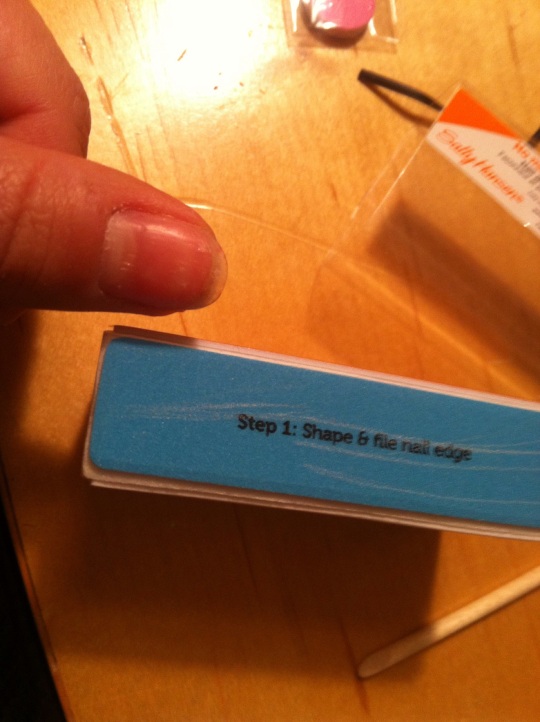
So off I went buffing. As I was wearing false nails for a while to help my nail growth, my nails was in a poor state. I seem to have developed two distinct ridges on my thumbs that is slowly growing out and all my nails looked is need to tlc.
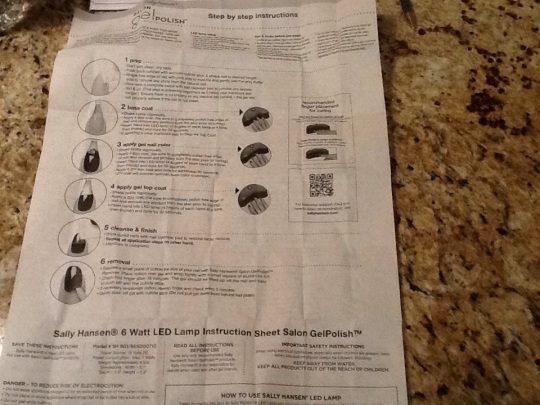
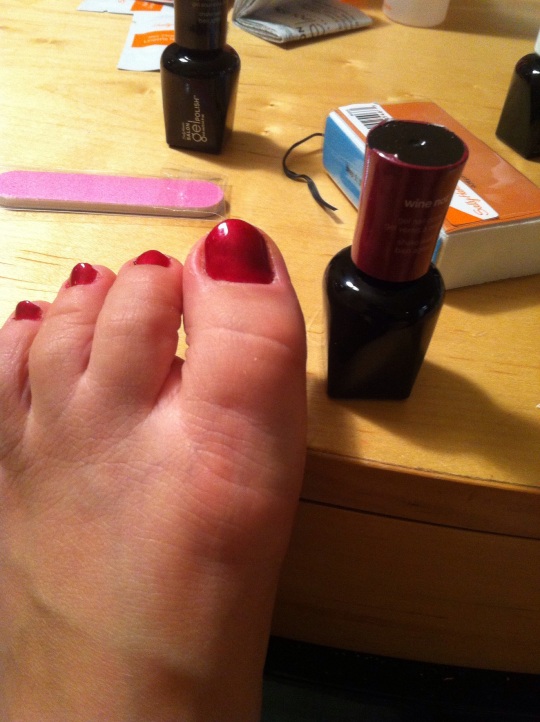
After all my nails was nicely buffed, I decided I wanted to do my toes first instead. Haha! I hardly touch my toe nails as I don’t really know what to do with them. I have been meaning to get a pedicure done (and I have once) but it’s just outside my budget at the moment. The non-chipping prospect of gel nails was perfect for me as I sometimes don’t bother to redo my polish on my toes even if it’s chipped. I used the cleansing pads provided then followed the steps on the instruction leaflet provided
This is what it looks like using the gel polish provided by sally Hansen
Needless to say I was blown away.
By the time I got to my nails, I was itching to try the regular polish method. It was so straight forward doing my toes that I already felt like a pro.
Earlier in the day I bought some polishes from a nail supply shop which I am absolutely in love with and will definately visit again
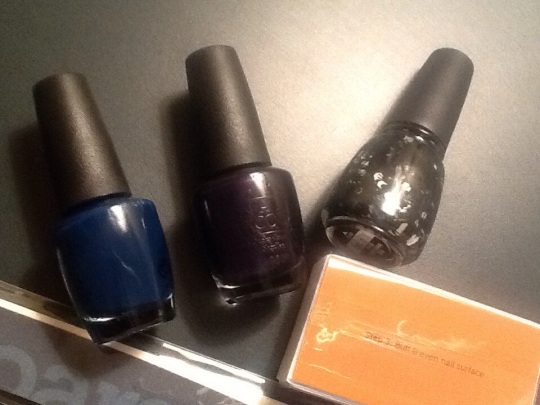
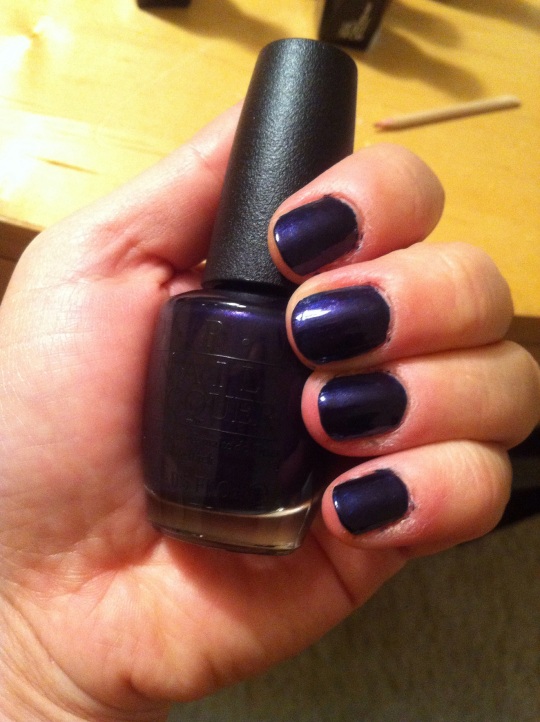
[OPI] I saw…U saw…We saw…Warsaw, [OPI] Russian Navy, [China Glaze] Whirled Away. The OPI was meant to be $8.50 but when we went to the till the man only wanted to charge us $7.00. What a bargain!! Did I mention I LOVE AMERICA! I love the Russian Navy colour but I only picked it because I really wanted the [Sensationail] Purple Orchid and couldn’t justify buying it since I have plonked it on my Christmas wish list. It was the closest swatch I could find
I have been wanting to try china glaze having seen one of my friends in Oxford fall in love with it so I picked the confetti one. It’s similar to the l’oreal one I wanted but with bigger glitter bits. It was only 5 dollars! I was in nail polish heaven and wished deeply I will win the lottery soon so I can buy all the nail polish to my heart’s content.
I picked the Russian Navy one to try but used the Warsaw one on my ring finger just to try out the colour. I looked up a few YouTube videos and blogs and decided I wanted to do a gel base coat, sandwich a regular polish in then finish it off with a gel topcoat.
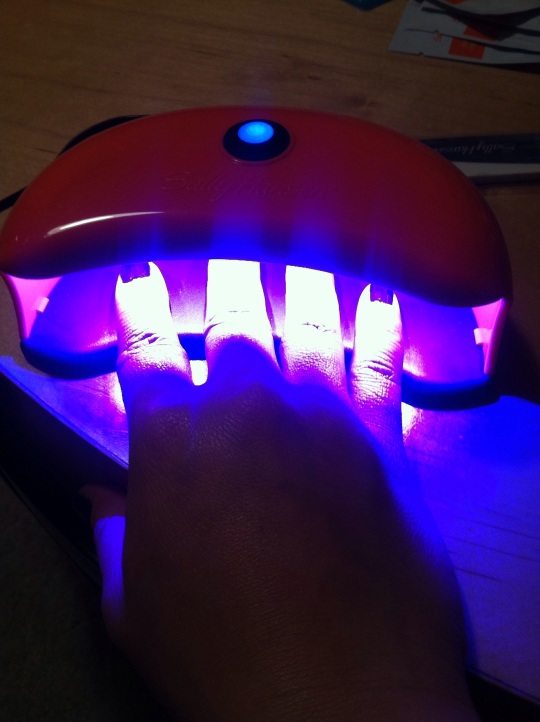
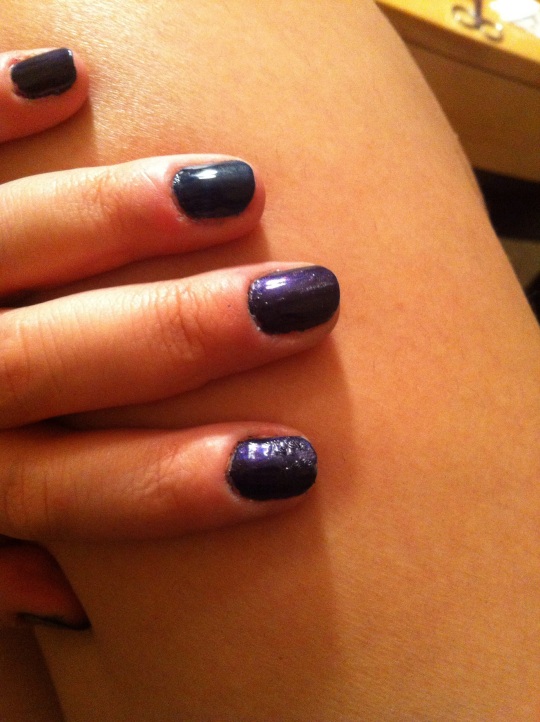
I didn’t find waiting for the regular polish to dry too daunting as other bloggers have mentioned but that’s probably due to the fact that I’m used to it! It’s none different than waiting for it normally when I do my nails except I allowed extra time “just in case”. I popped on the “Hunger Games” to watch while I waited. This is what I ended up with:
I really struggled with my nails. It was fine until I did my top coat. It was sticky after I placed it into the LED lamp as I was expecting. I used the cleansing pad as instructed and that’s when the sh!t hit the fan. It just seemed to mesh my polish 😥
I actually had to redo that one particular finger three times before I was satisfied but it still not how I like it. It’s way less shiny than my toes. As I haven’t tried the gel polish on my fingers, I don’t actually know if it’s because of my technique, the polish or any other factors so I will have to investigate!
Overall I was really impressed. I am writing this up three days after I applied my gel nails and my toes are in tip top condition. My nails not so much. I’m not convinced a novice like me should be experimenting with mixing regular polish with gel. I was also not impressed with these cleansing pads and will be looking for a more suitable replacement once they run out. To complete my nails and toes I had to use five cleansing pads. Two was probably because I kept messing up but it still seems excessive. I was provided with ten and I had to cleanse my nails before I applied gel and again after I cured my top coat. If you on do the maths, I was only provided enough cleansing pads to do five manicures…half of the suggested ten times..
I can’t say much about the removal process just yet. I have removed it from a few fingers due to the messy look but it was relatively straight forward. I’m putting that down to it being so recently cured tho.
